
Quick Start
A beginner-friendly guide, from your first login to adding your first customer, with no prior knowledge required.
What is Chatmatic CRM?
CRM stands for “customer relationship management.” Put simply: it is a notebook that keeps your customers’ and prospects’ details, your conversations with them, and where they are in the sales process, all in one place.
It does what a paper notebook or an Excel sheet does, plus the following:
- It collects messages from WhatsApp, Instagram, Messenger, TikTok, Telegram, email, and the chat box on your website on a single screen.
- It lets you see, as a team, who is handling which customer and what stage each quote is at.
- It reminds you of forgotten work (tasks, call reminders).
- It reports how much you have sold and which ads are working.
If you come across a word you don’t know in this guide, check the Glossary page.
What do you need before you start?
- Your login address. This is an address specific to your company, for example
https://companyname.chatmatic.tr. Chatmatic sends you this address by email. - Your email address and password. If you forgot your password, your admin will set a new one. See Forgot Password.
- An up-to-date browser. The latest version of Chrome, Edge, Firefox, or Safari is enough. You don’t need to install any separate program.
Step 1: Log in
- Type your company’s address into your browser’s address bar.
- Enter your email and password and press the Log in button.
- If two-step verification is turned on for your account, a code will be sent to you. Enter the code in the box. (This is an extra security step that makes it harder for others to open your account.)
- If a user agreement appears on your first login, read and accept it.
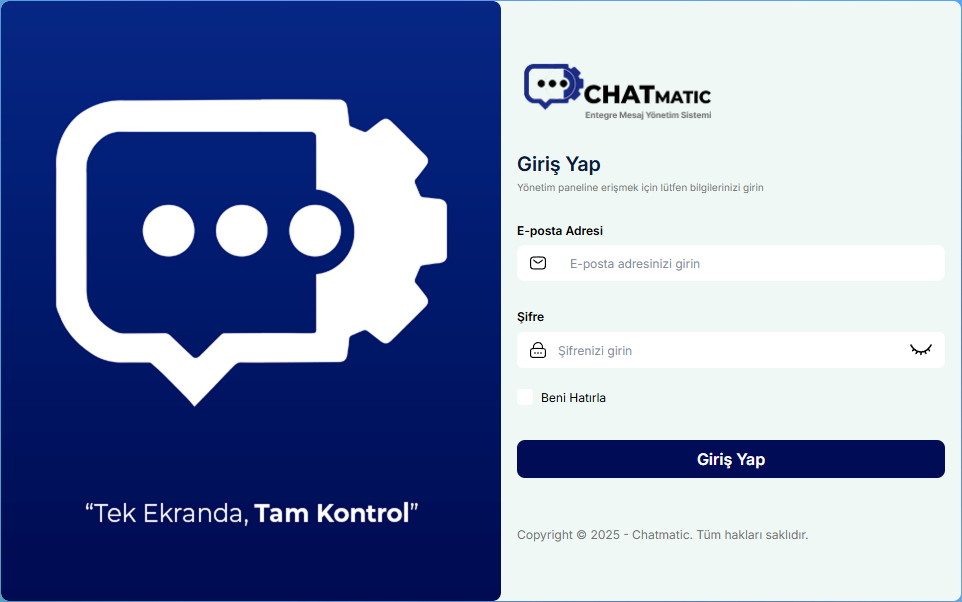 Login screen
Add the address to your browser’s bookmarks so you don’t have to type it every time.
Step 2: Get to know the screen
When you log in, the Overview page opens. The screen has two main parts:
- Left menu: You reach all sections from here (Contacts, Tasks, Quotes, Reports, Settings, and so on).
- Center area: The content of the section you selected appears here.
Some sections in the left menu contain a submenu. It opens when you click on it.
If you don’t see a menu on your screen that you see on a colleague’s screen, this is not an error. Menus vary according to your permissions and your company’s plan. See the Roles and Permissions page for details.
Step 3: Add your first customer
- Open the Contacts section from the left menu and click Customers.
- Press the New Customer button at the top right.
- Fill in the First name, Last name, and Mobile (cell phone) fields. Use the flag on the left of the phone box to select the country (default Türkiye +90) and type the number, for example
532 123 45 67. The system adds the spaces itself. Details: Entering Phone Numbers. - If you like, also select email, language, and customer group.
- Press the Save button.
The record appears at the top of the customer list. You can click it to open the customer’s card.
If you try to create a second record with the same phone number, the system warns you. This way the same person isn’t saved twice.
Step 4: Leave a note or task
If there is something you need to do after talking to a customer, create a task in the Tasks section so you don’t forget. For example: “Call Mr. Ahmet tomorrow, discuss the quote.” See the Tasks page for details.
How do the CRM and the chat system work together?
Chatmatic consists of two parts, designed to work together:
| Part | What it does | Where? |
|---|---|---|
| CRM | Customers, deals, quotes, tasks, reports | The panel you are using now |
| Chat system | WhatsApp, Instagram, Messenger, email, and web chat conversations (inbox) | Chat Channels in the left menu |
A simple analogy: the chat system is your “phone and mailbox,” and the CRM is your “customer notebook.” The customer writes to you through a chat channel; you keep their record, quote, and follow-up in the CRM. They constantly feed each other.
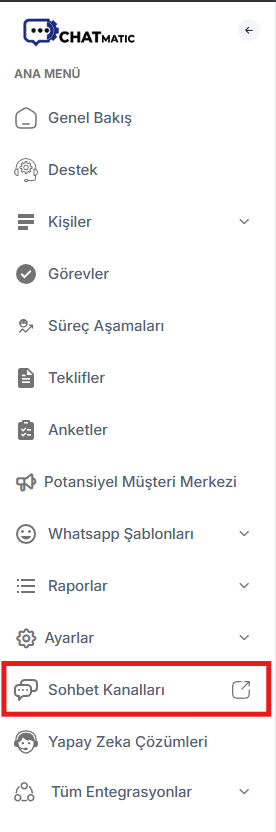 Chat Channels link in the left menu