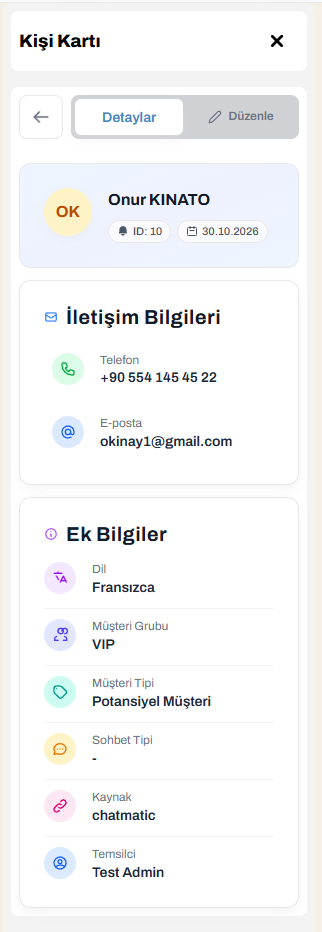
Contact Card
The card on the right of the conversation: get to know the person, see their registration status, and review and edit their details.
What is the Contact Card?
The Contact Card is the information panel that sits on the right side while a conversation is open in Chatmatic. It shows in one place who you are chatting with, whether they are registered, and the actions you can take for them.
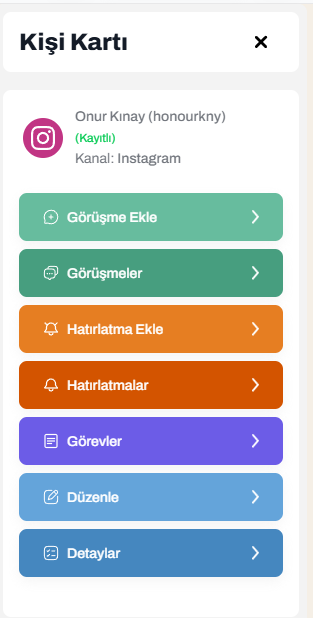 Contact Card (a registered customer)
Opening and closing the card
In the conversation’s top bar, on the right side, there is a button with a person icon (hovering shows “Contact card”).
- Click the button to open the card. The button turns a solid color.
- Click again, or click the X in the card’s header, to close it.
On small screens, the card opens in place of the messaging area. Close the card to return to the conversation.
The top section of the card
At the very top of the card you see:
- Channel icon: The channel the conversation came from (WhatsApp, Instagram, Facebook, Gmail, SMTP). For Web Chat, a colored circle with a chat icon is shown.
- Contact’s name: If you click the name, it is copied to the clipboard.
- Registration status: See the table below.
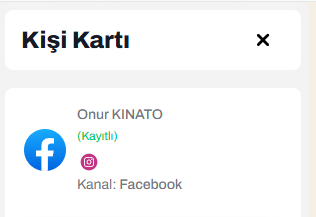
- Other channel badges: Other channels the same person has written from.
- Channel: Which channel this conversation came from.
Registration status labels
| Label | Meaning | What should you do? |
|---|---|---|
| (Registered) green | The person is registered as a customer | You can add a conversation, reminder, or task |
| (Not Registered) red | The person has not been saved yet | Save the new contact |
| (Customer Not Registered) (In Directory) | They are in your phone directory but have not been added as a customer | Convert them to a customer with Add New Customer |
Unnamed contacts
If the person has no name, the card shows Unnamed Customer. In Gmail and SMTP conversations, if no name is found, the sender’s email address is shown as the title.
Other channel badges
The same customer may have written from WhatsApp, Instagram, and by email. In that case, small channel icons appear under their name.
- Hovering over a badge shows which account or conversation it is.
- If there is more than one line on the same channel, a red number appears at the badge’s corner. Example: if it says 2, there are two separate lines on that channel.
This way you do not mistake one customer for separate people on different channels.
 Other channel badges